Jul 2025 - OCI Always Free Webserver
I ve previously used the Oracle Cloud Infrastructure always free products, some of the highlights of which (at the time of writing 27th July 2025) are:
- AMD Compute Instance - 2 AMD-based compute VMs with 1/8 OCPU and 1GB memory each.
- 2 VCNs, includes IPv4 and IPv6 support.
- Autonomous Database - Up to two databases total.
- Archive Storage - Up to 20GB total for standard, infrequent and archive.
- Block Volume Storage - Up to 2 block volumes, 200 GB total. Plus 5 volume backups.
- Object Storage API requests - Up to 50,000 Object Storage API requests per month.
NB. Oracle also allows you to trial a number of their products on your OCI tenancy. See Oracle Free Tier for more information.
Having taken some Oracle training courses, I used the always free database products and played with the OCI VMs to practice. This led me to think about how I could use these products for a mini project. This blog entry is about setting up a webserver and hosting a website. I ve paid companies hundreds of pounds over the years to do this so it combines practice and practicality.
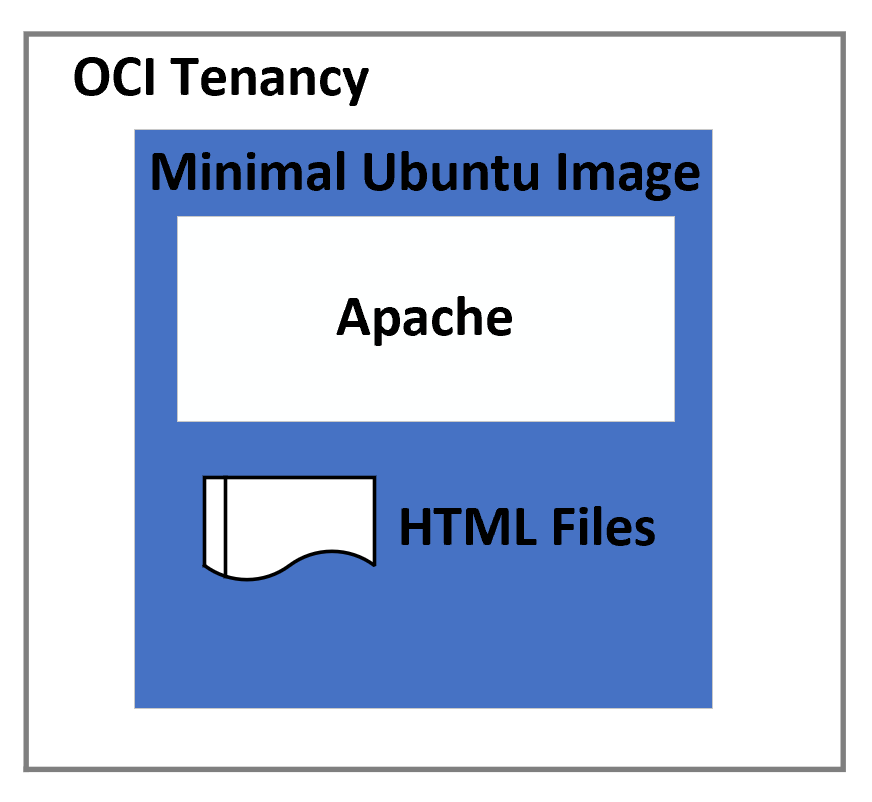
We will have the following when we are finished:
To do this you need:
- An Oracle Cloud Free Tier account.
- A domain name (unless you don t mind a naked IP address).
- Client tools for connecting to your VM and transferring files e.g. Putty and WinSCP.
I m going to host this blog using a domain name I ve used for various purposes (beyondmidnight.com) over the years from running a company selling pack benches, Welsh language comics and IT consultancy but that is a story for another day.
The steps to get the blog website you are reading this on were then:
-
Follow the Oracle tutorial on setting up Apache:
Installing Apache on Ubuntu
NB. I used the Minimal Ubuntu image rather than the OEL as the Always Free VM only has 1GB of RAM, which led to memory issues when trying to do anything else:
Community Discussion
Once the vm is up and running and you have connected to it you need to install Apache and some other tools the cut down Ubuntu was lacking so I could use vi and netstat. e.g.
sudo apt -y install net-tools
sudo apt -y install vim -
Configure a fixed external IP address and set Ingress rules to allow Apache to be accessed remotely:
Kamrul Dev Guide - Update the DNS for your domain name to your new fixed IP address. This depends on your domain name host/registrar. I used 123-reg who allow DNS record modifications via a GUI. I added an "A @" record for the IP address.
-
Set up a free SSL certificate so you can run your website without browser security warnings:
Oracle SSL Certificate Guide -
Upload your website content. HTML files for this site were placed in
/var/www/html, replacing the default holding index.html file.
The result is a free blog site that costs me nothing, and I ve refreshed a few rusty skills in the process. I can only recommend giving it or a similar project a try. It s been fun to play with the infrastructure and HTML, as well as get creative with web design.